claire.thoele@gmail.com instagram: @clairethoele
How does the commission process work?
It always starts with an idea. At this stage it is all about generating a lot of basic sketches to get the layout in line before the more intense line work and colorizing starts. I can go back and forth a number of time with someone to make sure that the design is exactly what they want.
Before moving forward we will need to agree on payment terms and schedule. For larger jobs I require 1/2 down up front and the rest on completion. It takes a lot of time, materials and work to get to the end of this process. For a design like this business card I would charge $100 - $150.
At this stage it can be helpful to have more ideas than we will actually need, sometimes a really satisfying design can come from an unexpected combo, other times the design ends up being a lot simpler. This often comes down to taste and requirements.

A starting sketch of a Roe Deer skull for my business cards.
Digital inking
The next step after we have worked through layout sketches, is to get a nice clean line drawing. At this stage it can be really simple to turn it into a vector drawing (a type of image based on mathematical curves that can be reproduced at very large and very small sizes without losing details), if it is needed.

More Design stuff:
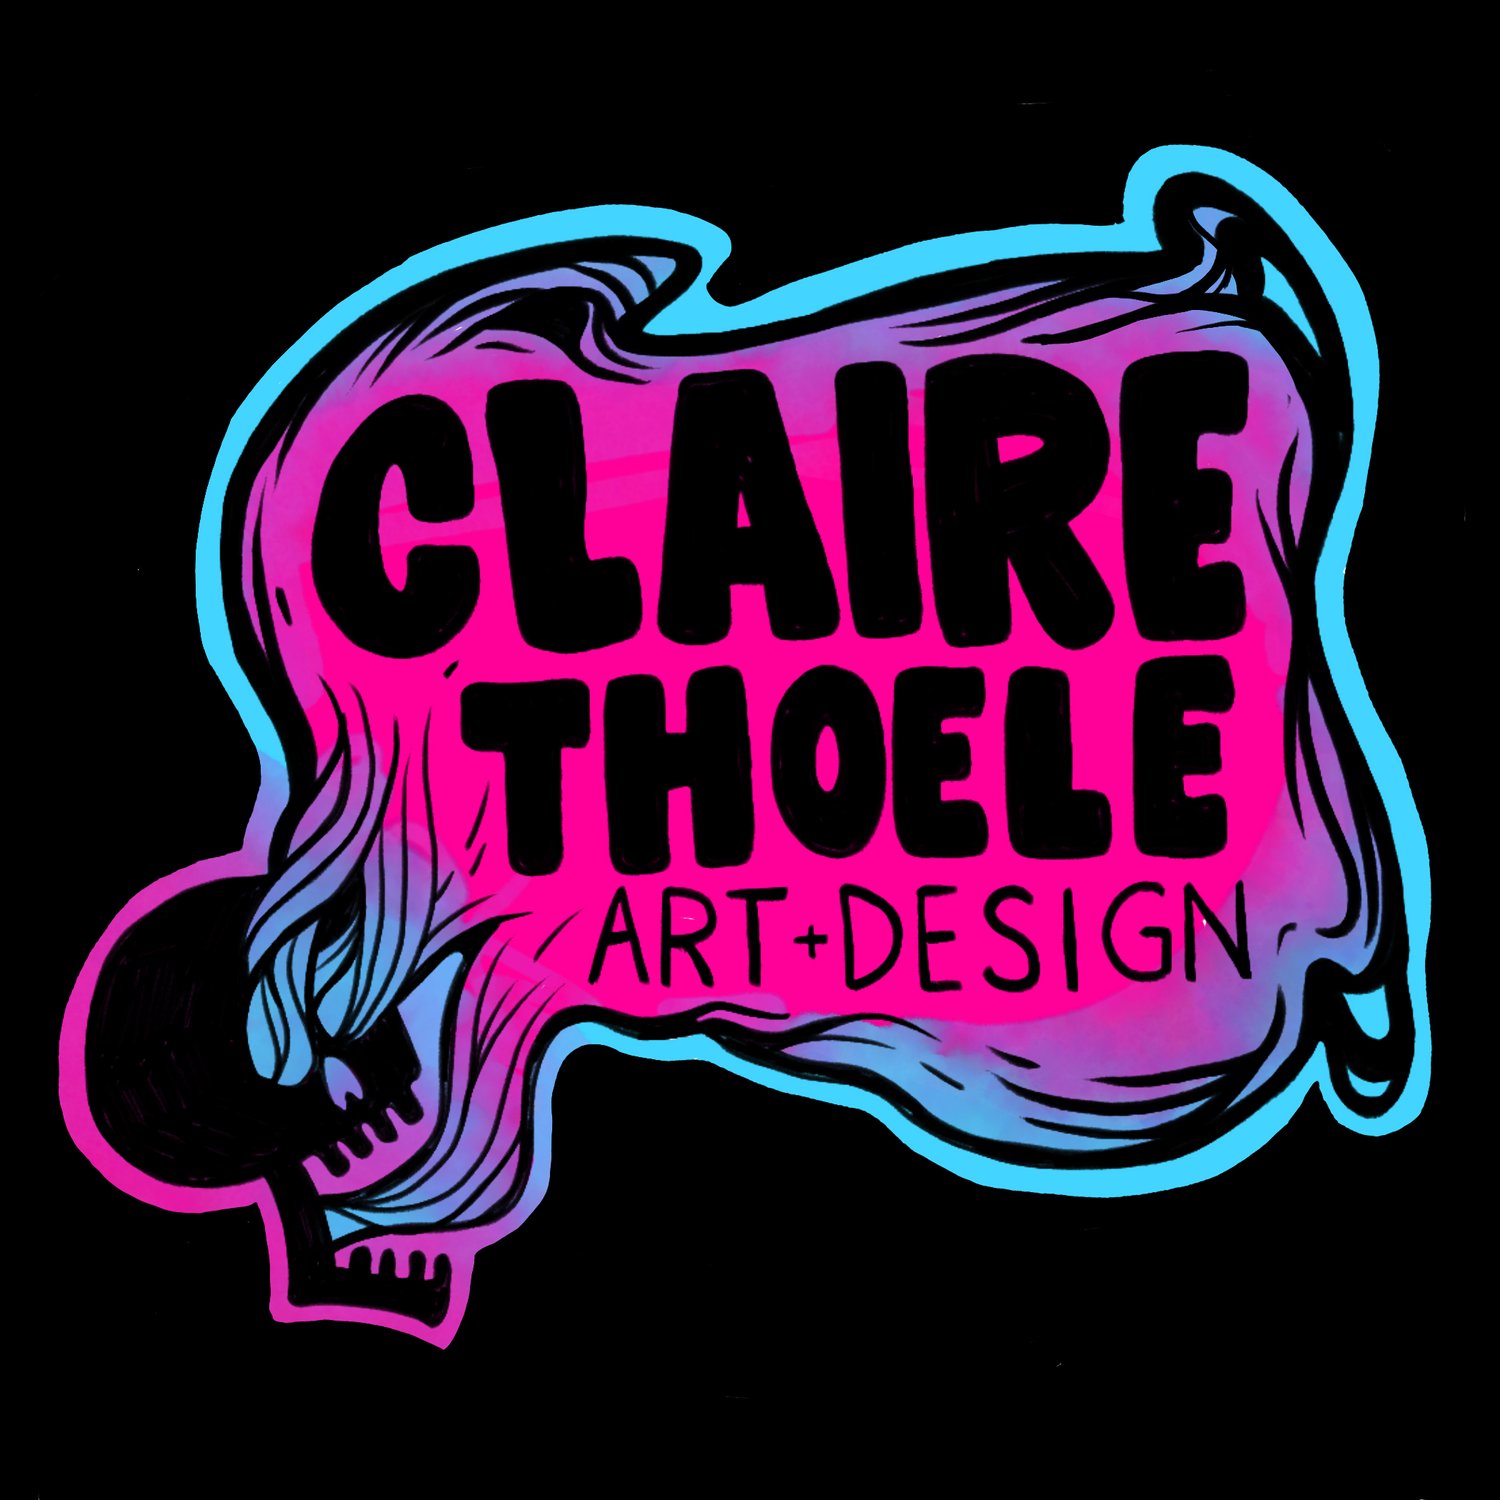
At this point we should have reached a beautiful clean and vectorized image. We can now finalize any other design elements that are needed, text or background or whatever else needs to be done.

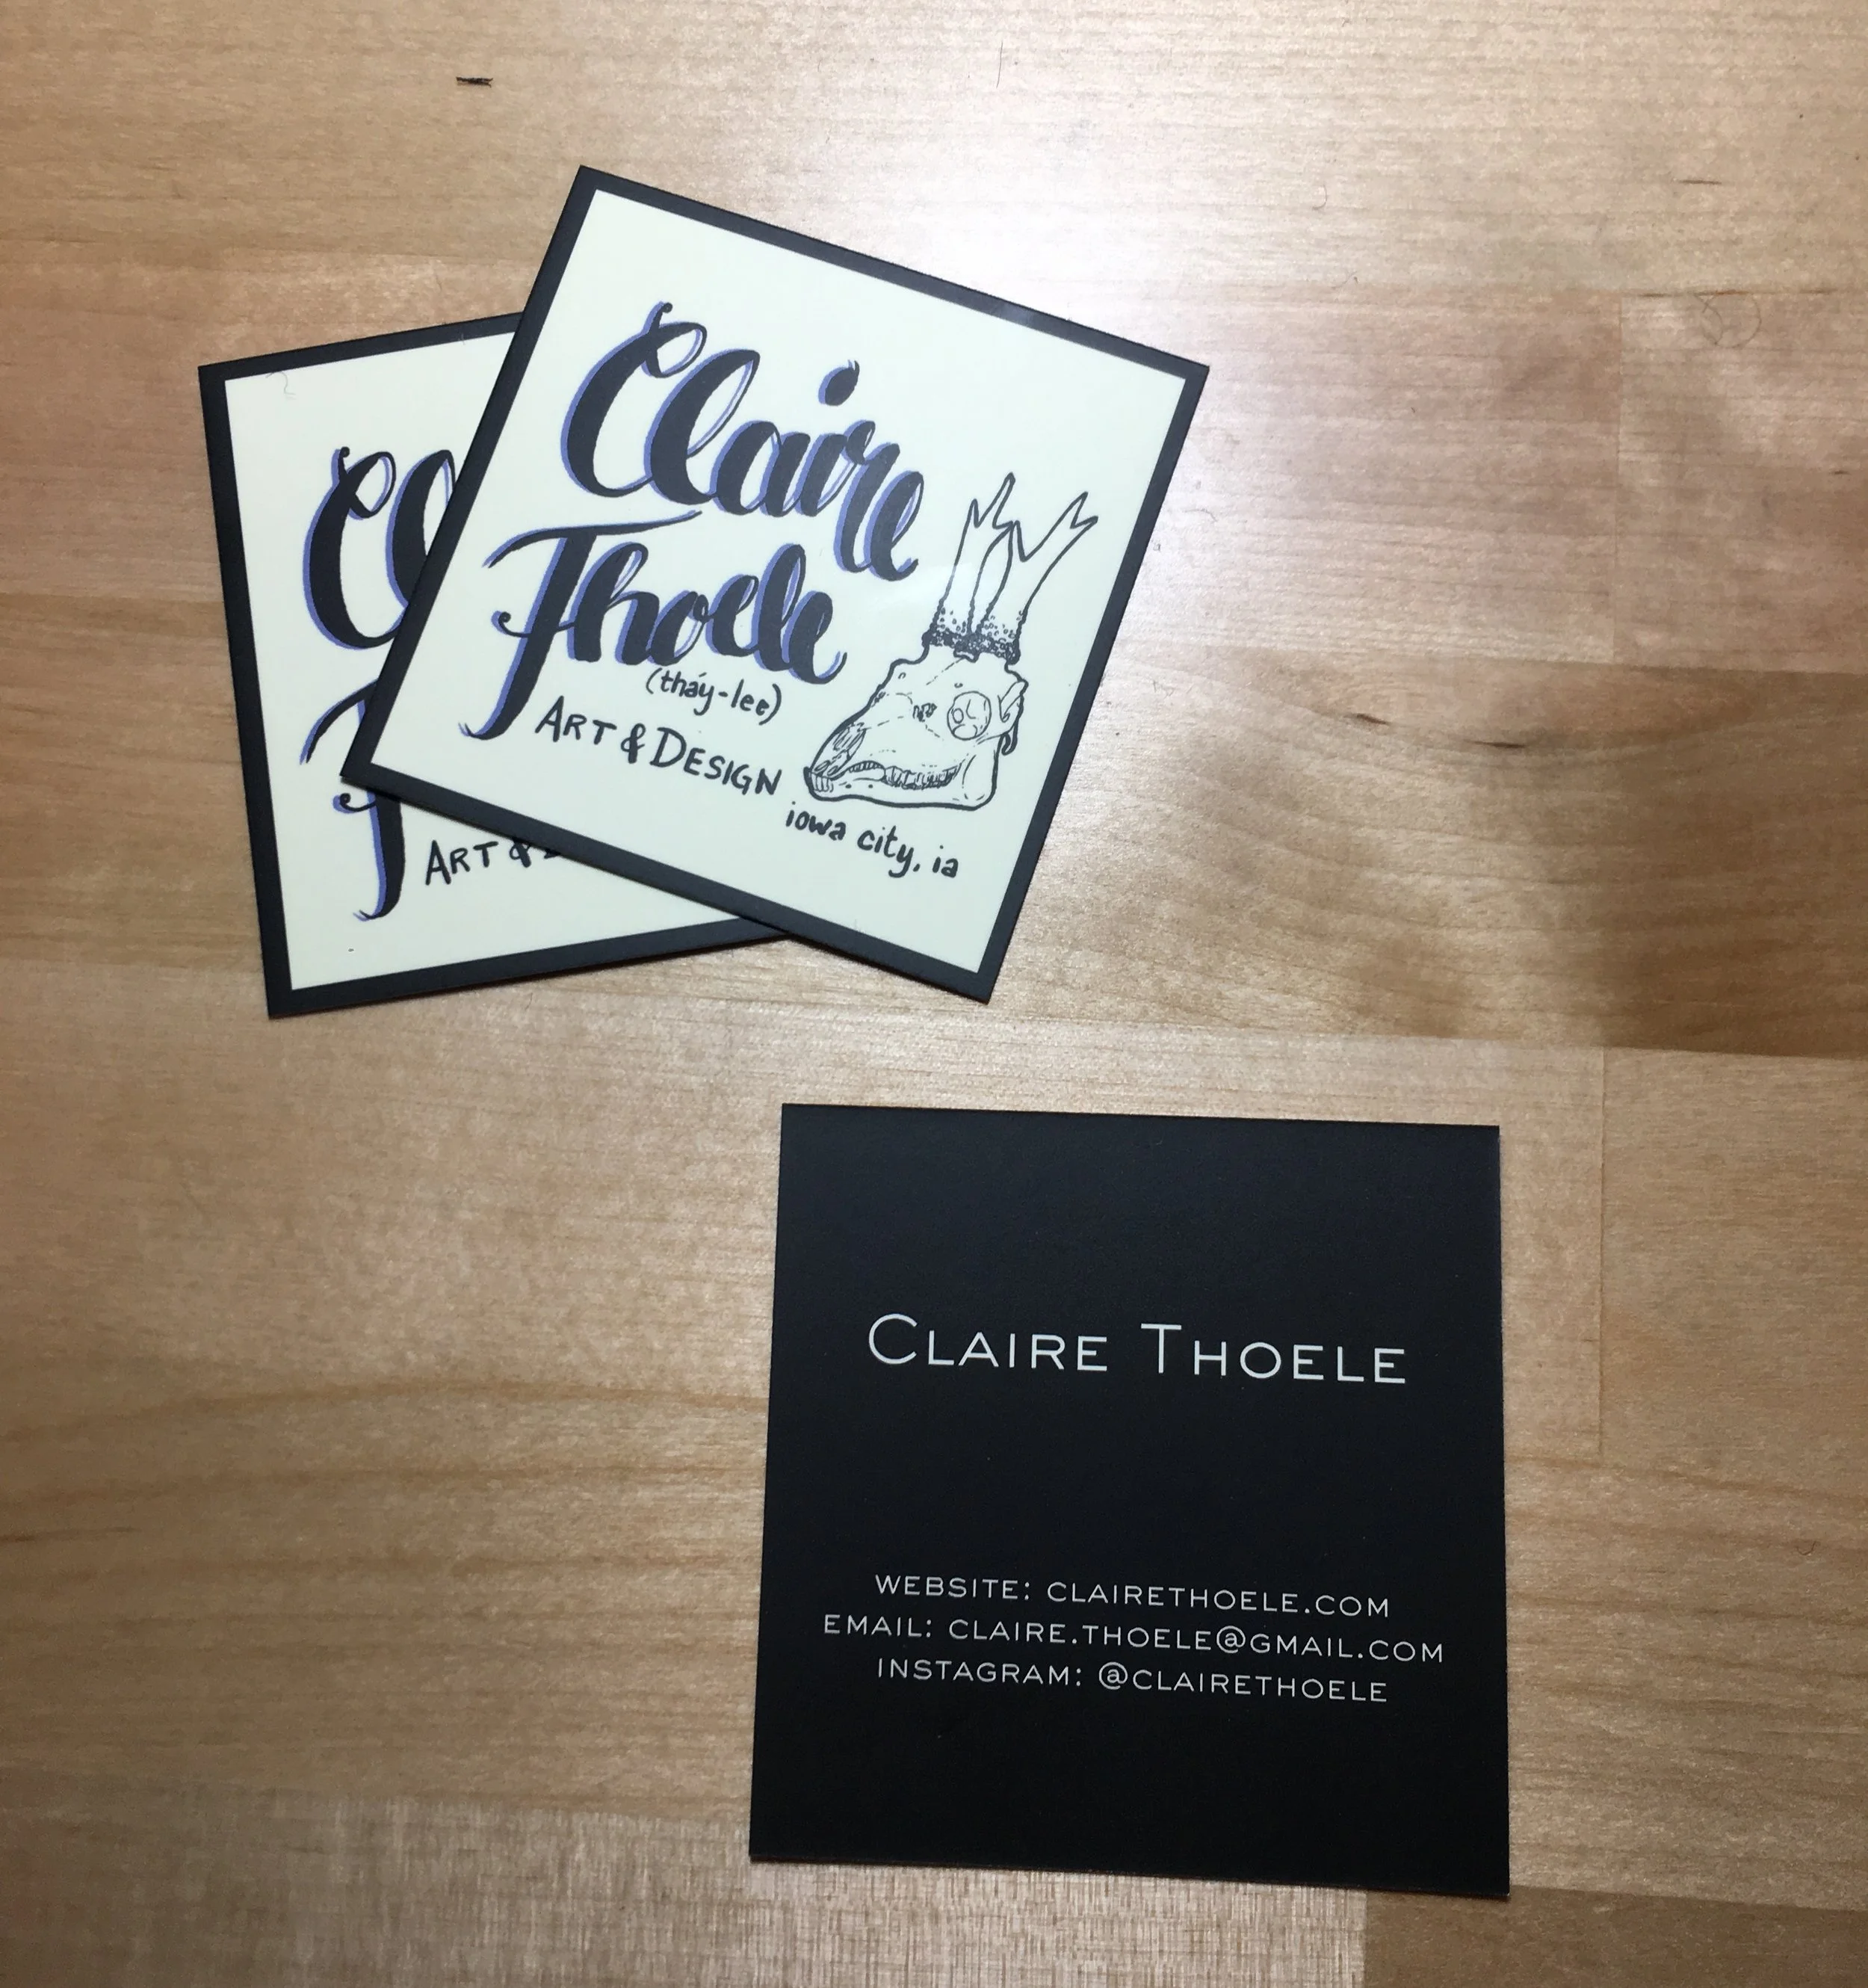
This was my first mockup for my business cards. I like the hand lettered look, and I added a nice thick outline to the skull. I also added the pronunciation of my last name to add some personality (and also because its a tough name to say).
This first design looked pretty good, but I wanted to have a little pop of color and I needed to leave a little more breathing room for the image.

Final Approval:
This looks good so it’s time to finalize the image and get it into the right format for printing (or whatever your needs are) The more specific you can be with the technical requirements the smoother this process can be. A lot of online or physical printing establishments will have easily accessible templates that will show cutting marks, bleed marks and the safe areas of the image.
This is also the last chance to request changes or double check all the details, so give it a really good look!
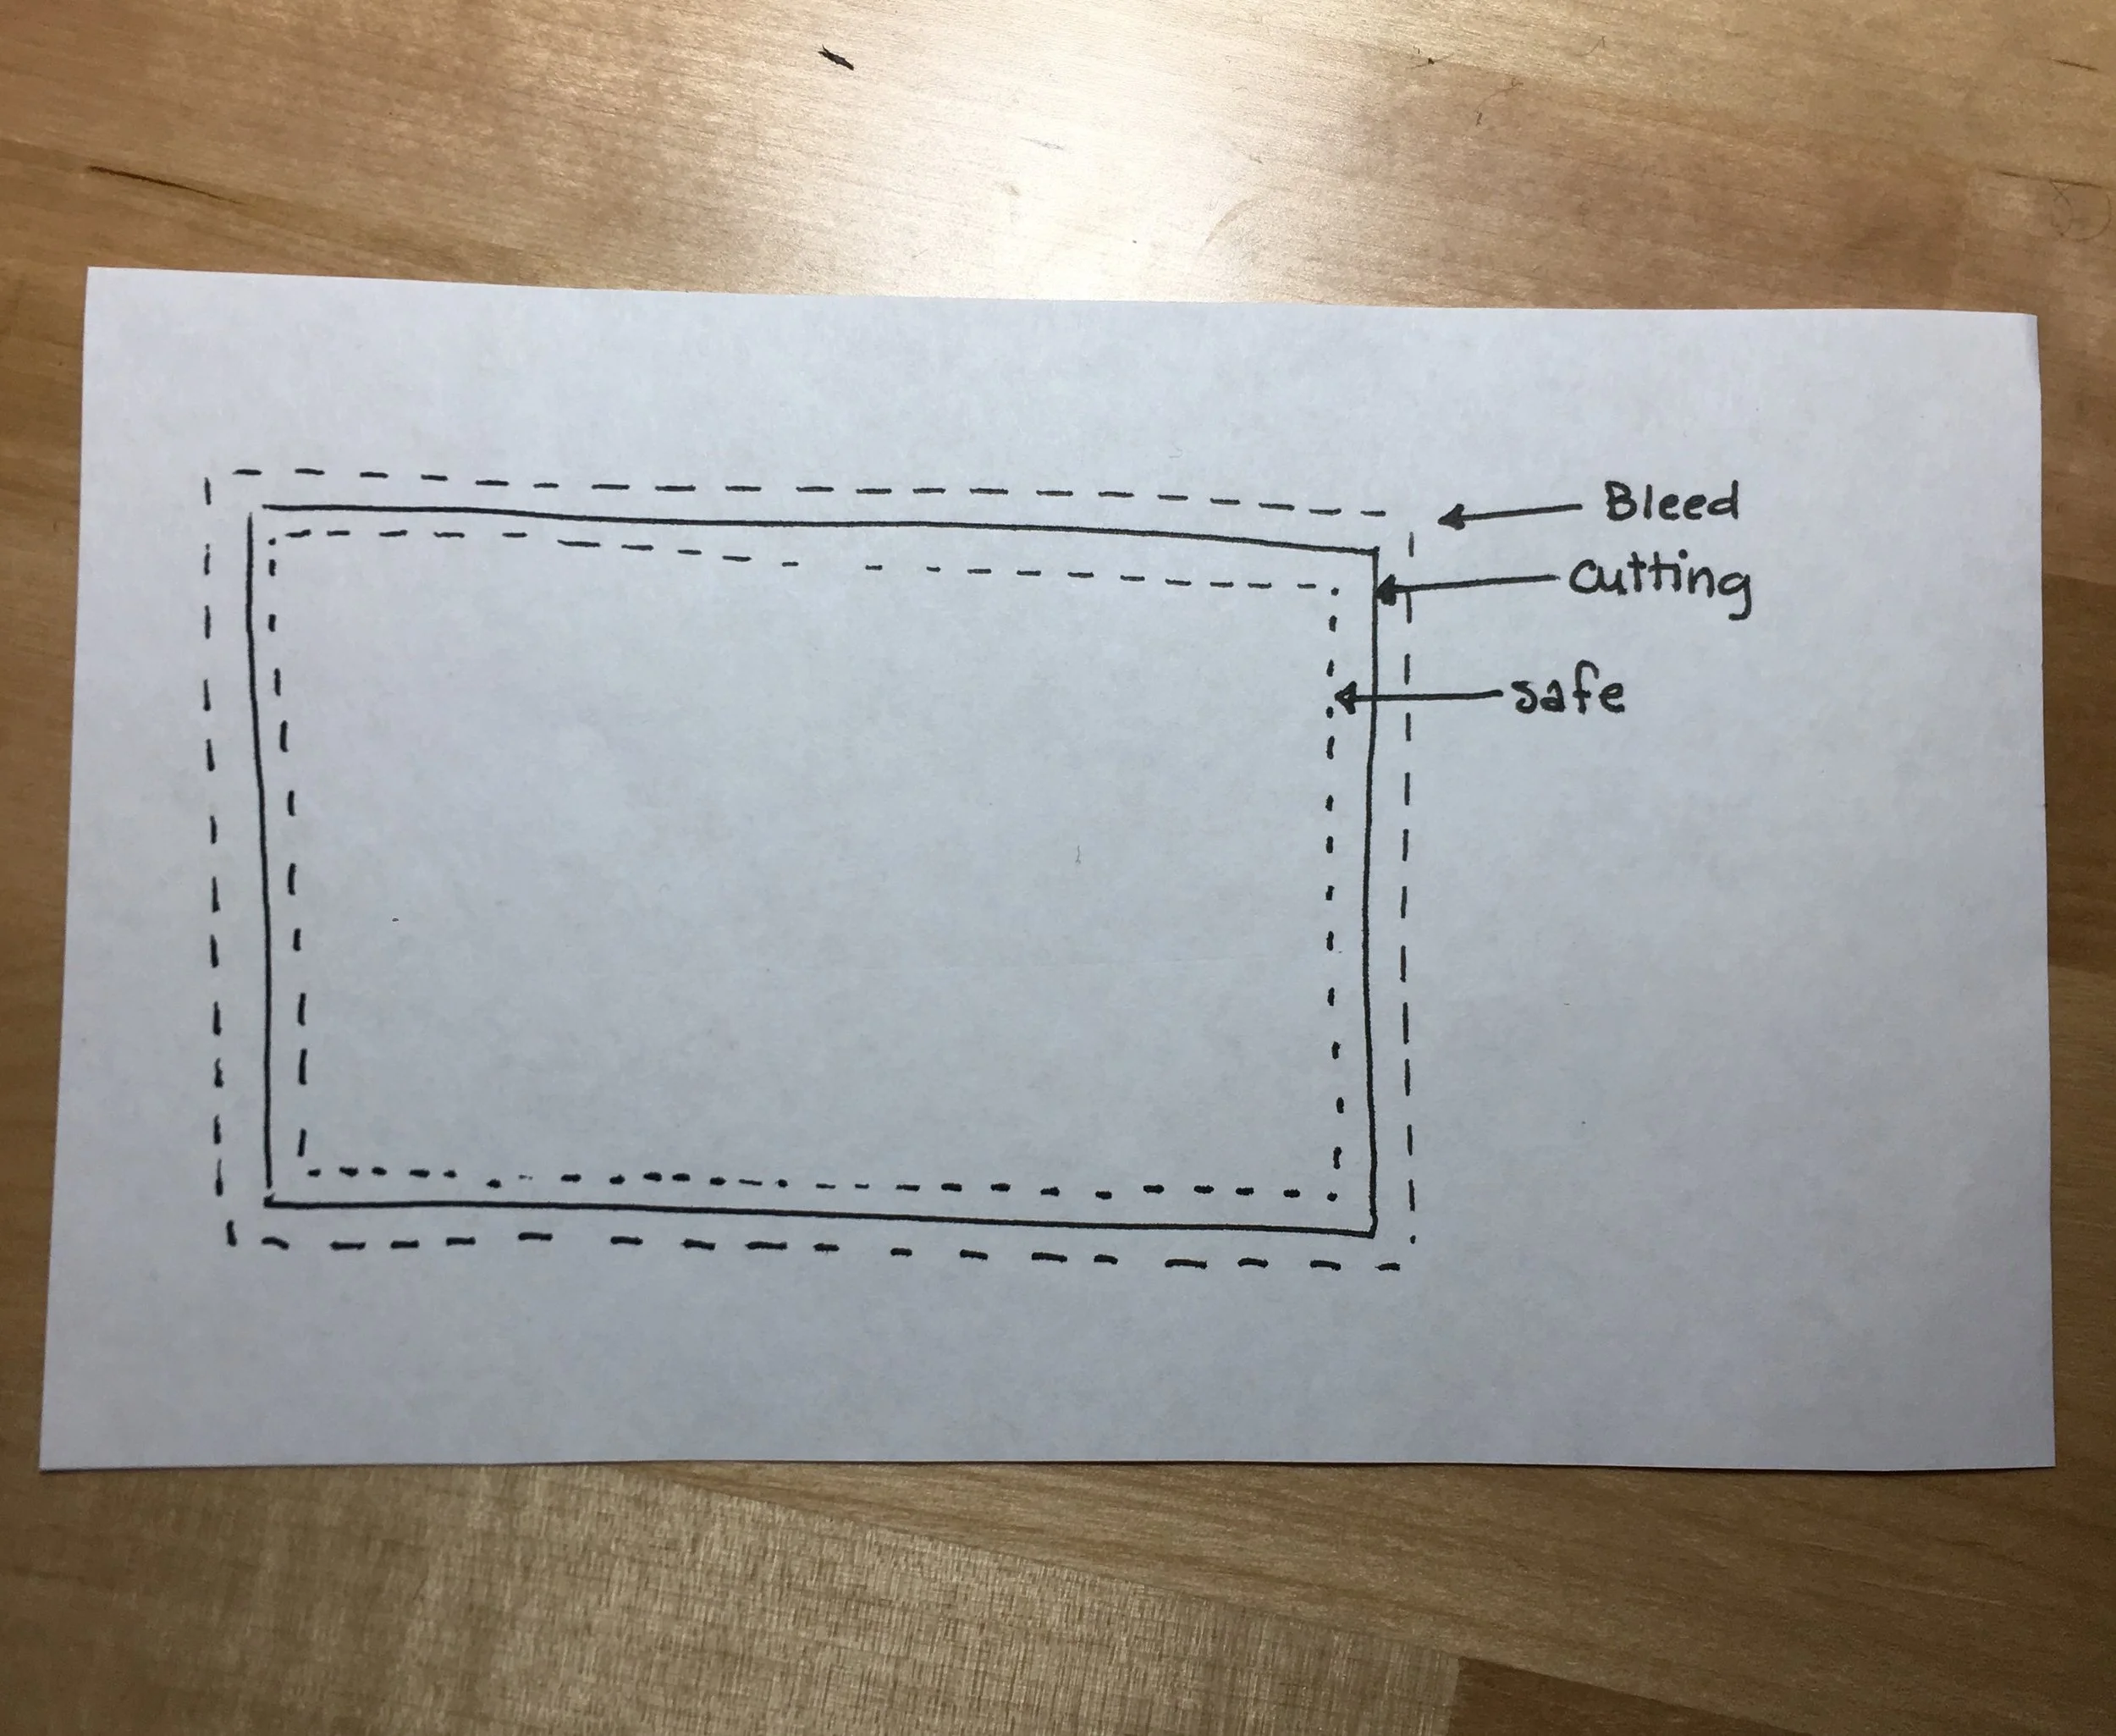
Printing guideline overview. This is important because the printing process is imperfect. The image (or background color) should extend beyond the intended size of the piece (to the bleed line) so that when it is cut down to size, slightly off cuts will not impact the look of the final product. The safe area inside the intended size is a failsafe in case the cuts are slightly inside the expected perimeter.
Final Product:
It takes a lot of work and communication to get a finished piece that is up to everyones' specifications and standards, but I think it is definitely worth it to get something that makes all parties happy. I’d love to work with you!